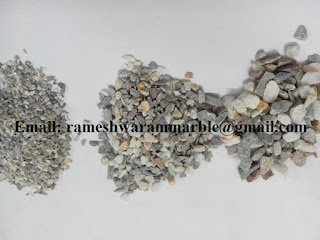
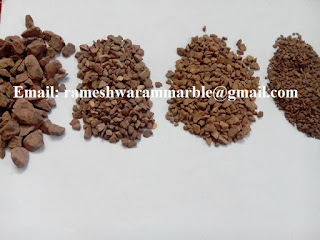
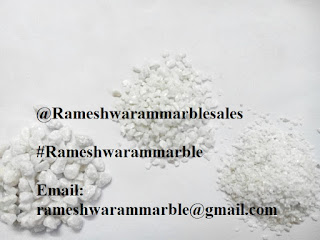
Create walls, floors, patios, and panels by exposing marble chips and other fine aggregates on the surface of finished concrete or epoxy-resin. First, cement workers build a solid, level concrete foundation that is three to four inches deep. After the forms are removed from the foundation, workers add a one-inch layer of sandy concrete. Before this layer sets, workers partially embed metal divider strips in the concrete wherever there is to be a joint or change of color . For the final layer, blend and place into each of the panels a fine marble chip mixture that may be color-pigmented. While the mixture is still wet, workers toss additional marble chips of various colors into each panel and roll a weighted roller (100–125 lbs.) over the entire surface.
 |
| Marble Chips |
Ingredients
1. The Whitest White Cement with high strength and super whiteness.
2. Calcite/Marble Powder – (200 Mesh)
3. Marble Chips (Size No. 2A/2B/3).
4. Potable Water.
5. Synthetic Inorganic Pigments – as required.
6. Water Proofing Compound – 2% by wt. of Cement.
Method
1. Exposed Aggregate Plaster can be done on any type of masonry work viz., stone/brick/block and RCC wall. In order to get a proper intercoat adhesion, the base coat has to be prepared.
2. The base consists of ordinary Portiant cement and sand rough plaster in a 1:3 or a 1:4 mix.
3. The base plaster should have a thickness of 12 mm to 15 mm
4. For proper bonding the plaster should be rough. Marked by combing the surface with wavy lines using a wire brush or nail comb.
5. The base should be hard and properly cured for a minimum of 5 to 6 days.
6. Take sections of wood or aluminum baton strips as per groove size and cut them according to the panel size. Fix this with nails on the walls as per the design.
7. Ensure proper fixing of the sections with cement.
8. Size of grooves may be 9 mm, 12 mm or 15 mm.
9. Prepare a dry homogeneous mix by taking 3 parts of White Cement and 1 part of fine marble powder (200 Mesh) preferably calcite powder for permanent whiteness, by weight.
10. Add Marble chips 6 to 7 parts to above mix by volume. Prepare the mortar by adding water to the dry mix and apply in between the panels, from top panel downwards. Level the plaster in between the sections and allow to dry for 2 to 3 hours.
11. After that expose the marble chips by washing the cement off from the top with the help of water and a hard nylon bristle brush. Wash the surface in such a way that chips do not come out from the plastered surface.
12. If the cement becomes very hard and the chips are not fully exposed, then wash with a 2% solution of Hydrochloric acid followed by another wash with clean portable water.
13. Finally after complete washing, remove the sections from the plaster to get grooves.
14. Grooves may be filled with any color for contrast.
15. Synthetic inorganic pigments may be added to the mix, in case of of colored Grit Wash.
Stone / Marble / Granite chips
Size of Chips Min Top Layer Required
(Marble Chips)
3 No. or 7 to 10 mm 12mm
2B No. or 4 to 7 mm 9mm
2A No. or less than 4 mm 6mm
Surface Preparation
For proper bonding of Stone Crete (Grit) work, the plaster should be rough, marked by combing surface with wavy lines using a wire brush or nail comb. Surface must be free of imperfections to ensure satisfactory appearance and Base should be hard and properly cured.
Do’s and Don’ts
* The walls to be finished should have proper Damp proofing Course (DPC) at plinth level, roof levels and parapet wall levels, to avoid any penetration of water. Parapet walls should have good coping blocks laid evenly
* All down-take pipes must be checked at joints and particularly at junctions / braches to avoid seepage of water.
* The walls must be clean and dry. After the removal of algae, leeches and any other organic growth, the spores should be killed with suitable fungicides.
* Wooden floats or batons should not be used. This will help in protecting whiteness.
* Plastering should not be done sun-facing during cloudy weather.


